Lock or Pin? How to Keep Whiteboard Content in Place
Lock and Pin both keep content on your whiteboard in place, but they work differently. Lock stops all changes, while Pin fixes an object and still lets participants click and type. Here is when to use which, with an example and step-by-step instructions.



If you have run a workshop on a shared whiteboard, you know this moment. A participant wants to click on a sticky note, drags the whole column instead, and the board you spent an hour preparing suddenly looks different.
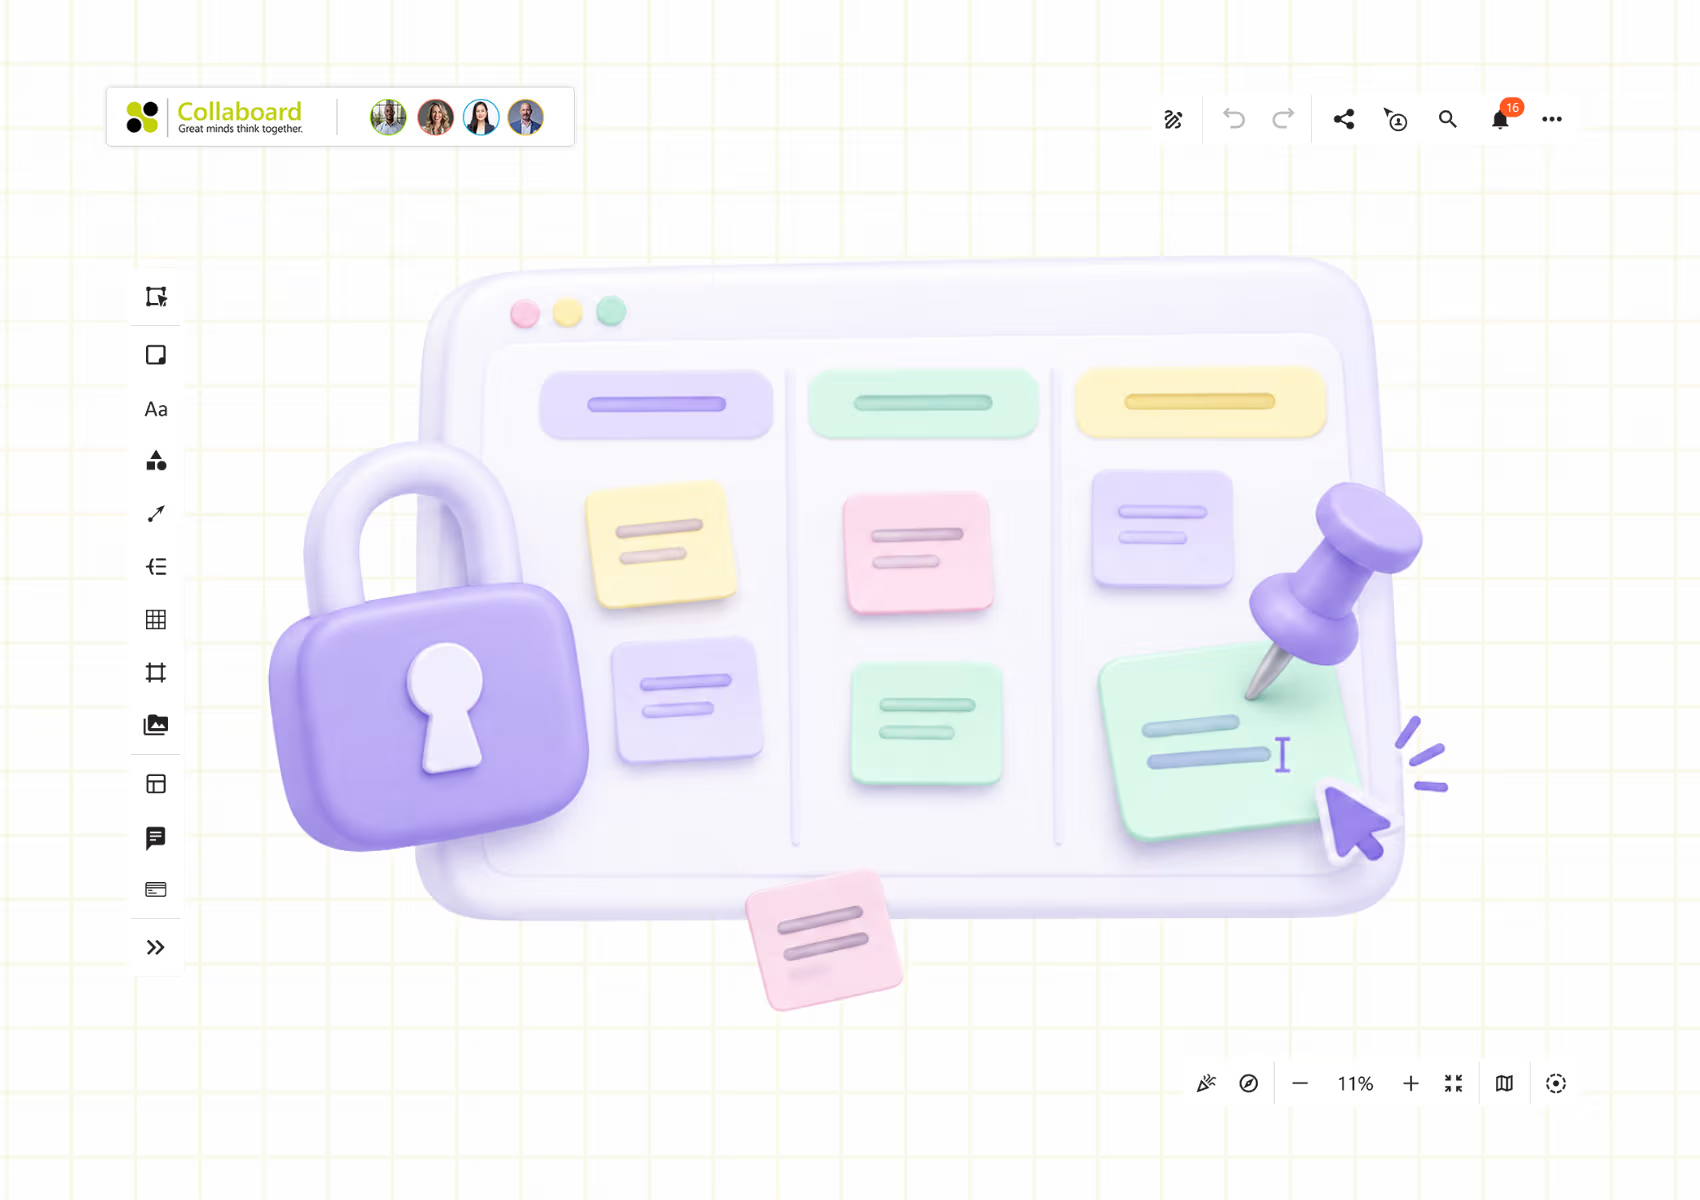
Most whiteboards solve this with a lock. Collaboard gives you two options, Lock and Pin, and they solve different problems.
The short version: Lock freezes an object completely. Participants can't move it, resize it or change its content. Pin keeps an object in place, but people can still click on it and type. Lock is for the structure of your board. Pin is for the parts your participants are supposed to fill in.
What locking does
A locked object is read-only for everyone on the board. It can't be moved, resized, edited or deleted until a facilitator unlocks it. Links on a locked object still work, so participants can open a website or jump to another place on the board. When someone clicks on a locked object, a button shows that it is locked, so nobody wonders why it doesn't react.
That makes Lock the right choice for everything that forms the frame of your board:
- Background images and canvases, for example a Business Model Canvas or a customer journey template
- Frames and section headings that structure the board
- Instructions, agendas and time plans
- Logos, legends and reference material that should stay exactly as it is
Locked objects also stop getting in the way. When participants draw a selection rectangle around their sticky notes, they don't accidentally grab the background as well. As a facilitator, you decide whether locked objects can be selected at all, using the "Select locked objects" option in the Select menu.
What pinning does
A pinned object is fixed to its position and size, but it stays interactive. Participants can click on it and type, they just can't drag it somewhere else, change its size or delete it. Links on pinned objects stay clickable too, and a click on a pinned object shows a button that tells you it is pinned.
This is the feature that makes workshop preparation easier. You can set up a grid of empty sticky notes, one per participant or one per question, and pin them. During the session, people click on their note and start writing. Nobody has to create a note first, pick a color or look for free space, and nothing slides out of place when someone clicks a little too hard.
Pin is useful whenever the layout is part of the method:
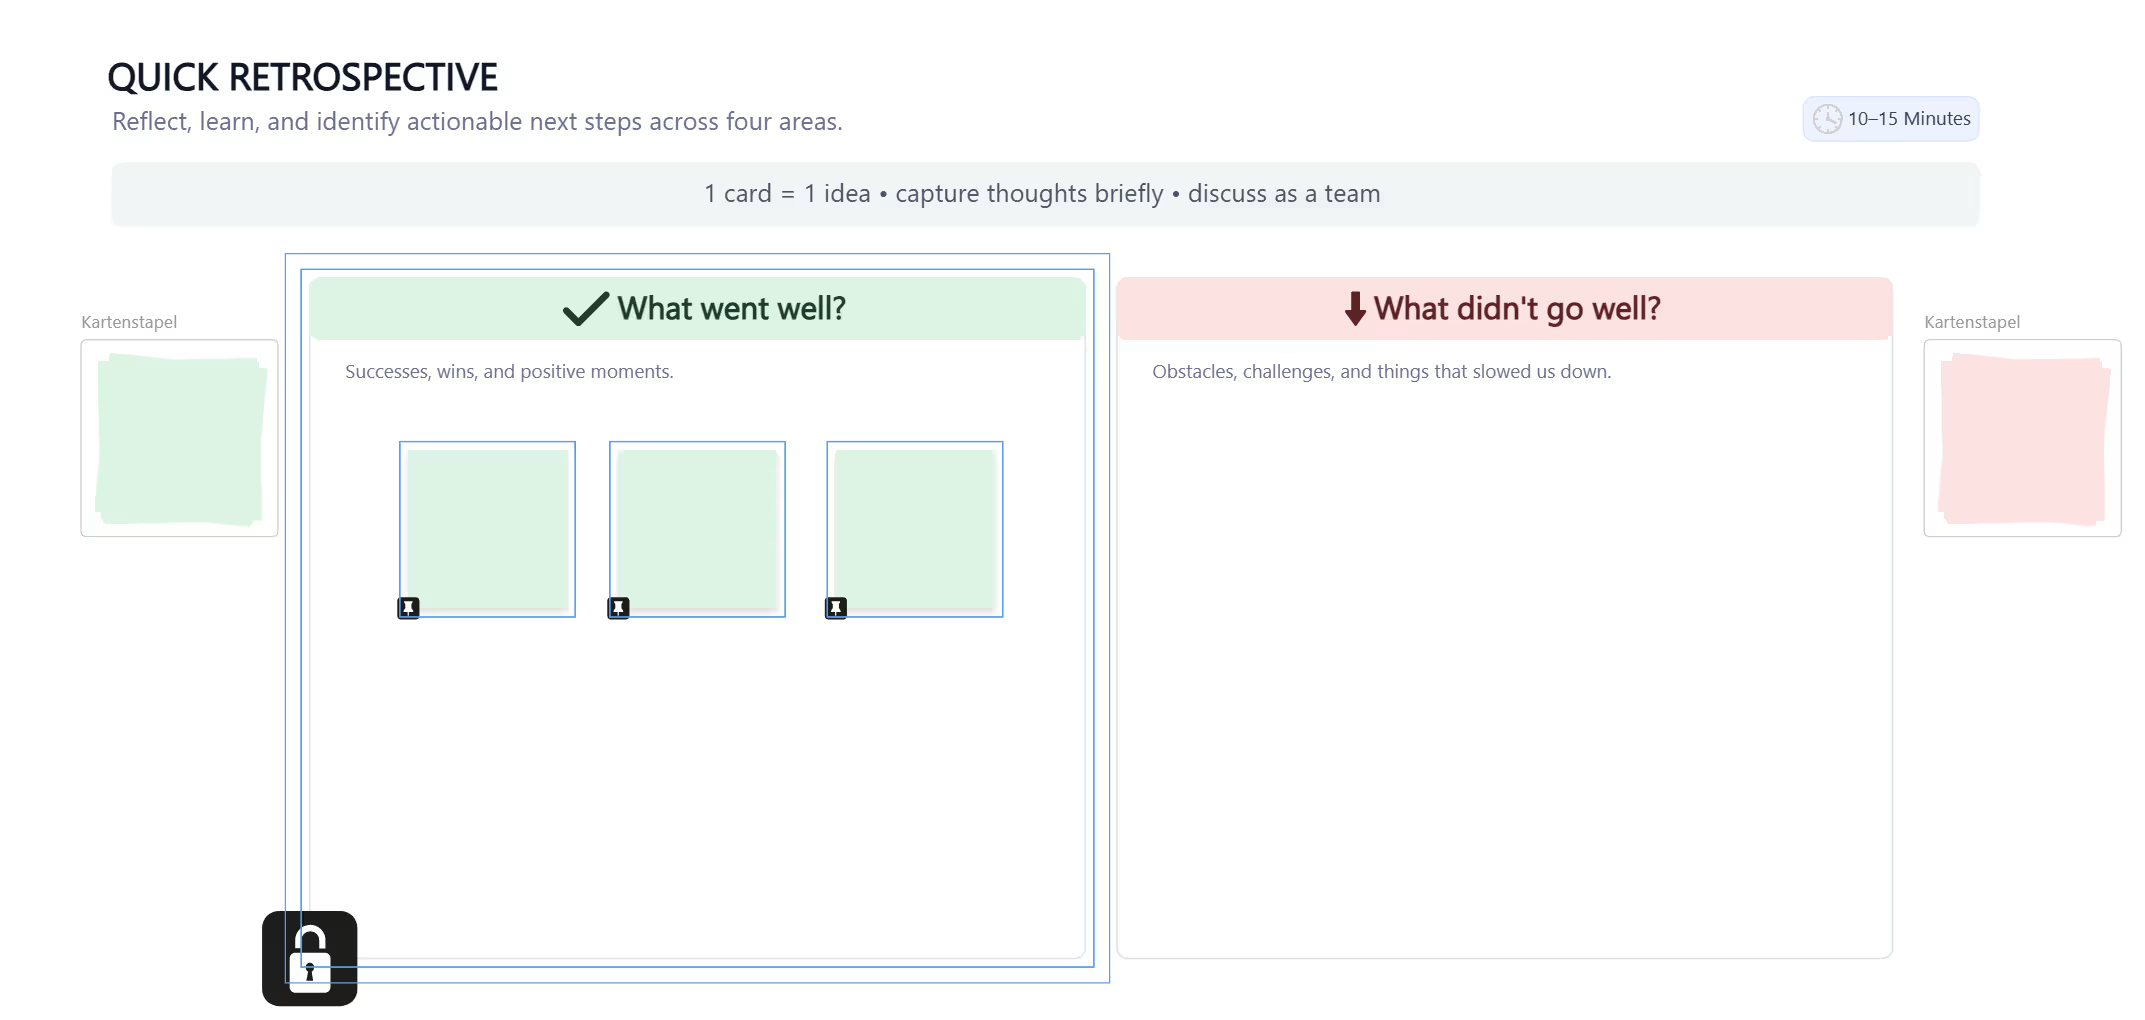
- Prepared input fields: empty sticky notes in a fixed grid, for example "What went well", "What didn't", "What we try next"
- Worksheets for trainings: an exercise with one answer field per participant, labelled with their name
- Templates with fixed positions: a canvas where each field must stay in its box so the result stays readable and exportable
- Media libraries: videos, documents, images and links that people should open or download, but not move or delete by accident
- Touch screens and interactive displays: on touch devices, a tap easily turns into a drag. Pinned objects stay put.
Lock vs. pin at a glance
Where lock and pin help most
Workshop preparation
Good facilitation starts before the session. With Lock and Pin you can build a board that guides people through the method: the structure can't break, and the places where input is expected are already there. Participants spend their time on content instead of on arranging notes. More ideas for your preparation: Workshop planning made simple.
Trainings and onboarding
In a training, every participant often does the same exercise. Prepare one pinned answer field per person, add their name, and everyone knows where to write. As a trainer you see at a glance who is done and who needs help.
Breakout groups
Build one prepared area, then duplicate it for each group. Pinned and locked settings are copied along, so every group starts with the same tidy setup. For everyone else on the board, the copies are fixed right away. You, as the person who duplicated them, can still move them freely until you refresh the page, so you have time to put each copy in its place.
Groups with mixed experience
People who are new to online whiteboards tend to move things by accident. With a prepared, pinned board, they only need one skill: click and type. That lowers the barrier for first-time users.
Templates you reuse
If you save a prepared board as a template, the locks and pins become part of it. When you add the template to a new board, all elements are movable at first, so you can place the template where you want it. After a page refresh, the locks and pins are active again. Your colleagues get a board that is ready to run, not a layout they have to rebuild.
Moving to the next phase
Pinning is temporary by design. Once the collection phase is over, unpin the notes so the group can cluster, sort and vote. You decide when the layout opens up.
Example: preparing a retrospective for eight people
Say you run a 60-minute retrospective with eight team members. Here is how the board could look.
- Structure (locked): a frame with three columns, "What went well", "What didn't go well" and "What we try next". Above it, a short text with the agenda and the rules for each phase. You lock the frame, the column headings and the instructions.
- Input fields (pinned): in each column, eight empty sticky notes, one per person, each with a small name label. You pin the sticky notes. During the first phase, everyone clicks on their own note and writes.
- Free space (neither): next to each column, a small stack of extra sticky notes that people can drag out if they have more than one idea.
- Next phase: after ten minutes of writing, you unpin the sticky notes. Now the team can move them into clusters and vote on the topics to discuss.
The result: nobody searches for the right spot, no column gets pushed out of shape, and the board after the session is readable enough to export and share. For more on running the session itself, see How to make your next retro meeting a success.
How to lock and pin objects in Collaboard
Lock an object
- Select one or more objects.
- Click More in the object menu.
- Click Lock.
To unlock, open the Select menu in the left toolbar and enable Select locked objects. Then select the object and click the lock icon. Step-by-step guide: Lock and unlock objects.
Pin an object
- Select one or more objects.
- Click More in the object menu.
- Click Pin.
To unpin, click the black pin icon on the object. It can be moved again right away. Step-by-step guide: Pin and unpin objects.
Common mistakes
- Locking the input fields. If you lock the sticky notes people should write on, nobody can type. Lock the structure, pin the fields.
- Forgetting to unpin before clustering. Pinned notes can't be sorted. Plan the moment you release them as part of your agenda.
- Locking everything. A board where nothing reacts feels broken. Tell participants in the instructions what they can edit and where they find free sticky notes.
- Grabbing the background by accident. If you keep selecting locked objects while you work, turn off Select locked objects in the Select menu.
- Rebuilding the same setup every time. Save a prepared board as a template once and reuse it.
Try it on your next workshop board
Pick one board you use regularly, lock its structure and pin the fields people fill in. You will notice the difference in the first five minutes of the session, when everyone starts writing instead of searching.
On This Page

Start for free with Collaboard
Create your first online whiteboard, invite others and start collaborating visually.
You can use Collaboard for free and upgrade later whenever your needs grow.
*No credit card required
Michael Görög
Co-Founder Collaboard
Michael Görög is co-founder of Collaboard and is passionate about digital collaboration, visual work and the future of teamwork. He regularly shares practical insights on online whiteboards, collaboration methods, AI and new ways of turning ideas into action.

Frequently asked questions
Any questions? We are here to help.
A locked object can't be moved, resized or edited. A pinned object can't be moved or resized, but people can still edit its content, for example type into a sticky note.
Yes. That is what Pin is made for. Participants click on the note and write, but they can't drag it away.
No. Locking and pinning are facilitator functions. The facilitator decides when the structure opens up.
No. A locked or pinned object has to be unlocked or unpinned before anyone can delete it.
Click on it. A button on the object shows whether it is locked or pinned.
Lock it. A background never needs to be edited during a session, and locking also keeps it out of participants' selections.
Yes. Duplicated objects keep their locked or pinned state, which makes it easy to prepare identical areas for breakout groups. For other users this applies immediately. The person who duplicated the objects can still move them until they refresh the page.
Yes. When you add the template to a new board, all elements are movable at first, so you can position the template on the board. After a page refresh, the locks and pins are active again.
All of them, including the free plan.
Not quite. The terms differ between whiteboard tools. In some of them, freezing keeps objects visible at the edge of the screen while you navigate. In Collaboard, Lock stops all changes, and Pin stops movement while the content stays editable.
Subscribe to the newsletter
Stay up to date with the latest tips and news on collaboration.
Start your next whiteboard now
Get a free trial of Collaboard with up to 3 boards and five people per session. All key features are available for you to try out.