

Creating a storyboard may seem complex at first glance, but with the right tools and methods, this process can be simplified considerably. In this article, you will find out what a storyboard involves and what it is actually used for. You'll also get a step-by-step guide to creating a storyboard, including some tips. Finally, we explain how you can create a storyboard effectively and easily with Collaboard.
What is a storyboard?
Creating a storyboard can be done on paper or digitally. It is usually preferred to create a storyboard online, as this is less time-consuming. With a storyboard maker or Online whiteboard like Collaboard it is possible to use one of many storyboard templates or to work together synchronously as a team.

What does a storyboard look like?
In addition to the drawings and descriptions, storyboards often contain symbols or arrows that indicate camera movements and angles. These visual cues are important to show the production team how to position and move the camera in the scene. Such details can include camera pans, zooms, perspective changes and other technical instructions. The following information can be included in a storyboard:
- Storyboard title with name of the project and scene number
- Panels or pictures with sketches of the scenes, positions of the characters, props and backgrounds
- Numbering to show the chronological sequence of the plot
- Descriptions with additional information about the scene, dialog and special instructions
- Camera symbols and technical instructions for camera movements (e.g. pans, zooms), camera angle, Perspective changes, lighting settings and sound effects
- Notes with additional comments for the team and notes on emotional moods or special effects
- Transitions with presentation of transitions between scenes and references to editing techniques
- Time units with information on the duration of scenes and timing of dialogs and actions
- Location and time information with scene location, time of day and weather conditions
How to create a storyboard?
A storyboard can be created either on paper or digitally. With storyboard software or an online whiteboard such as Collaboard, the work is usually much faster and more convenient. You only need 8 steps to visualize your idea, video or film in a storyboard:
- Start Collaboard: Open Collaboard in your web browser and create a new project. Select an empty template or one of the predefined storyboard templates.
- Read the script: Understand the plot, characters and dialog in detail. Note important scenes and transitions in a separate area of your whiteboard.
- Define the scenes: Divide the script into individual scenes that you want to depict in the storyboard. Create a new panel on your whiteboard for each scene.
- Sketch the scenes: Use Collaboard's drawing tools to create rough sketches for each scene. You can use simple shapes, stick figures and symbols to represent the action and camera angles.
- Add details: Complete the sketches with important details such as camera angles, movements and important props. Use Collaboard's text tools to add dialog or special instructions for each scene.
- Number the panels: Give each panel a number to clarify the order of the scenes. Use the Collaboard text or numbering tools to do this.
- Check and edit: Look at your entire storyboard in Collaboard and check whether the plot is presented logically and smoothly. If necessary, make corrections or additions directly on the whiteboard.
- Present the storyboard: Use the presentation function of Collaboard to show your storyboard to your team. Ask the team members for feedback and use the collaboration tools to improve and adapt the storyboard together.
What are some tips for better results with a storyboard?
It often makes sense to just start drawing. However, thorough advance planning is much more effective with a storyboard. Before you start drawing, you should make a rough sketch of the entire board when creating a storyboard. This will give you an overview of the entire plot and ensure that all important scenes are included. If you want to structure your planning visually, you can use a collaboard. For example, create a mind map or a list of the most important scenes and transitions.
Once you have created a rough plan, you shouldn't be too obsessive about details. Your storyboard drawings don't have to be Picassos. Keep it simple and just sketch out the plot and camera angle. Be sure to maintain your flexibility and be prepared to make changes. Sometimes scenes need to be adjusted or completely redesigned to work better. If you're using Collaboard to create your storyboard, you can simply use the drag-and-drop function to easily rearrange or rework scenes.
However, merely sketching the scenes and putting artistic quality in the background does not mean that you should forget important information in your panels. When it comes to the quantity of details captured, don't skimp. Complete each scene with important details such as character movements, dialog and props. This information is crucial for the exact realization of the scene. It's best to use Collaboard's text tools to add details. Different colors or fonts can help to highlight important information. Remember: quantity over quality.
Here are some more tips for creating storyboards:
- Number the panels in increments of ten (10, 20, 30) so that you can insert additional scenes more easily if you make changes later on
- Use different fonts or colors for dialogs and instructions to clearly distinguish them from each other
- Use the copy-and-paste function to quickly insert recurring elements and save time
- Use one of the collaboard templates to save time when creating a storyboard

What are the advantages of drawing a storyboard?
A well thought-out storyboard significantly improves the efficiency, creativity and quality of a project and ensures that everyone involved is on the same page. In this chapter, you can find out what differences a storyboard can make, for example.
Clear vision and collaboration
Efficient planning and problem prevention
Structuring and consistency of the storyline
Storyboard examples & templates with Collaboard
If you are looking for a suitable tool to create your storyboard, you can Collaboard be the ideal tool for you. Without a platform like Collaboard, collaboration is often fragmented and inefficient. Team members have to physically come together or send numerous emails and files back and forth to give feedback and make changes.
Conclusion: It's this easy to create a digital storyboard
Creating a storyboard for a movie or similar online is very easy. If you follow a storyboard tutorial, you will be finished in just eight steps. While you should not get lost in the visual details when drawing, it is important to include as much information as possible in the panels. Using a storyboard template from Collaboard makes drawing the board much easier.
Creating a storyboard - frequently asked questions and answers
What makes a good storyboard?
A good storyboard is a clear and precise visualization of the plot with comprehensible drawings and notes describing scenes, camera angles and movements. It should also convey emotions and moods to support the creative process.
What is the difference between a screenplay and a storyboard?
A script is a written text that contains dialog, actions and instructions for the actors and the production team. A storyboard, on the other hand, is a visual representation with scenes in the form of drawn pictures or sketches.
What are the steps in creating a storyboard?
The steps include reading and understanding the script, sketching the most important scenes and adding details such as camera angles, movements and important notes. The sketches are then put in the correct order.
Are there good free storyboard tools?
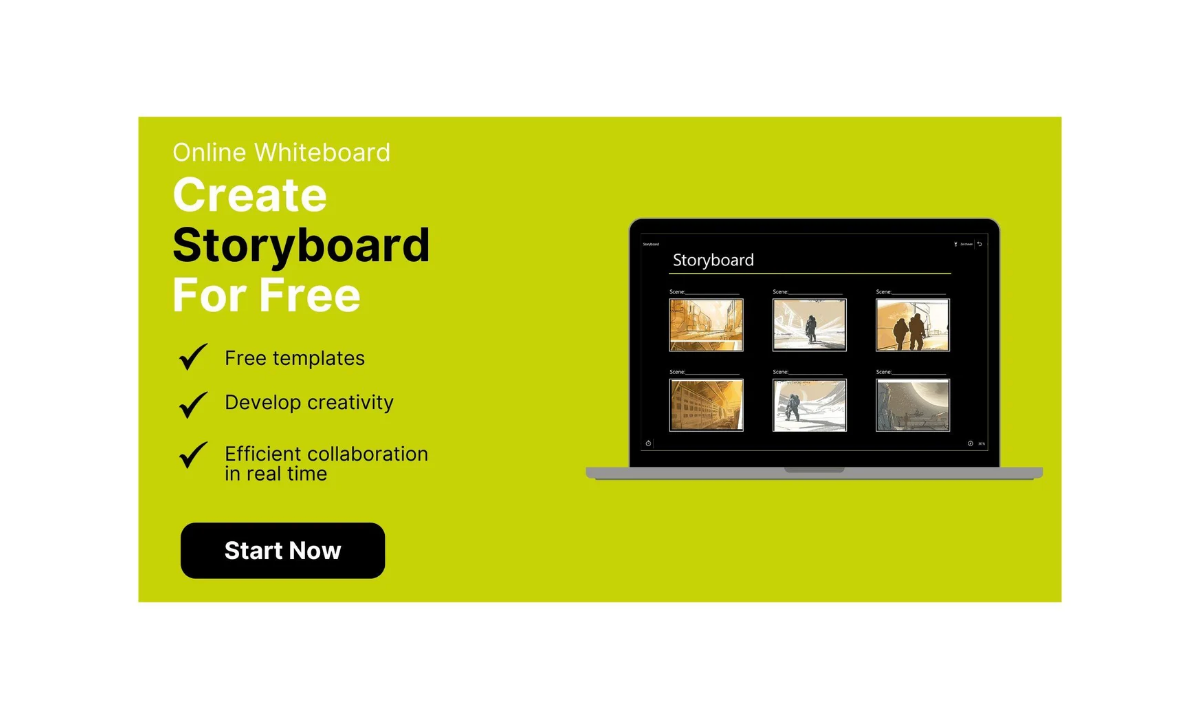
Create a storyboard for free? This is possible with many tools on the Internet. Collaboard, for example, offers a 14-day trial period that is completely free of charge. This allows you to test the full range of functions of the online whiteboard and create a storyboard.
How to create a storyboard online?
To create a storyboard online, you can use one of the available storyboard platforms such as the online whiteboard Collaboard. These tools offer intuitive user interfaces and templates to help you draw and organize your scenes.